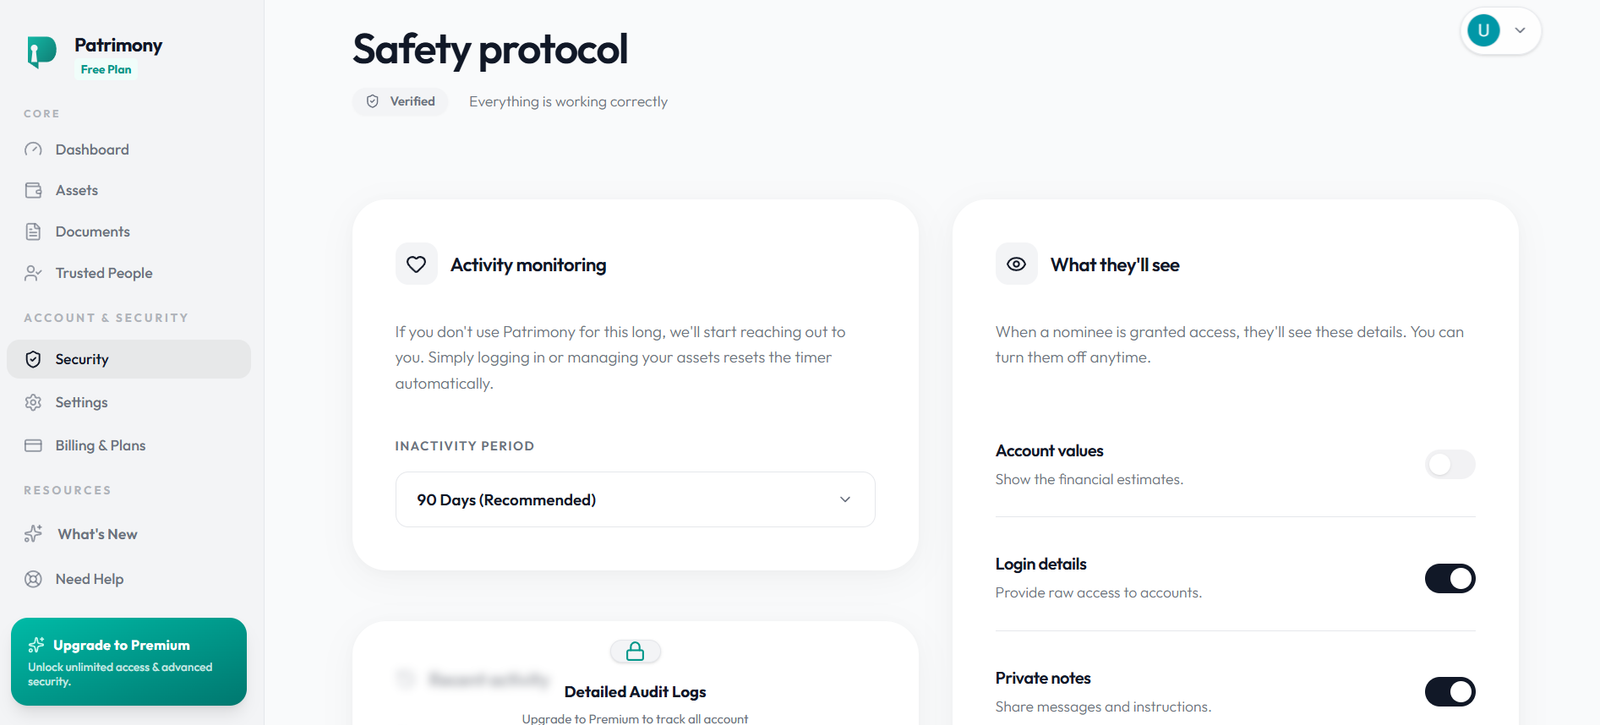
User Guide
Setting up your Vault
Protecting your family's future takes just a few minutes. Follow these simple steps to easily set up your secure vault.
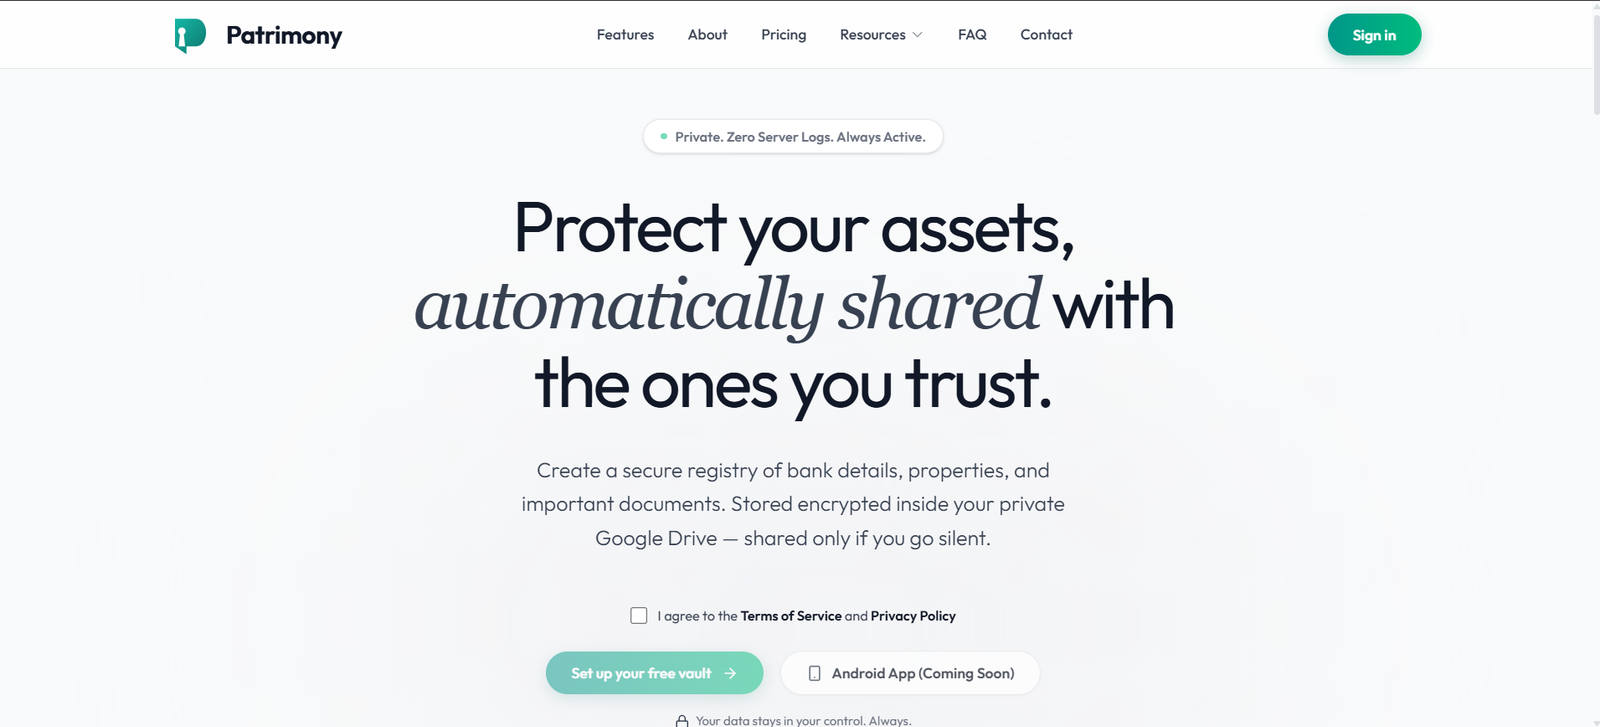
Our Landing Page
Start your journey from our secure landing page. This is the entry point to your protected digital legacy.
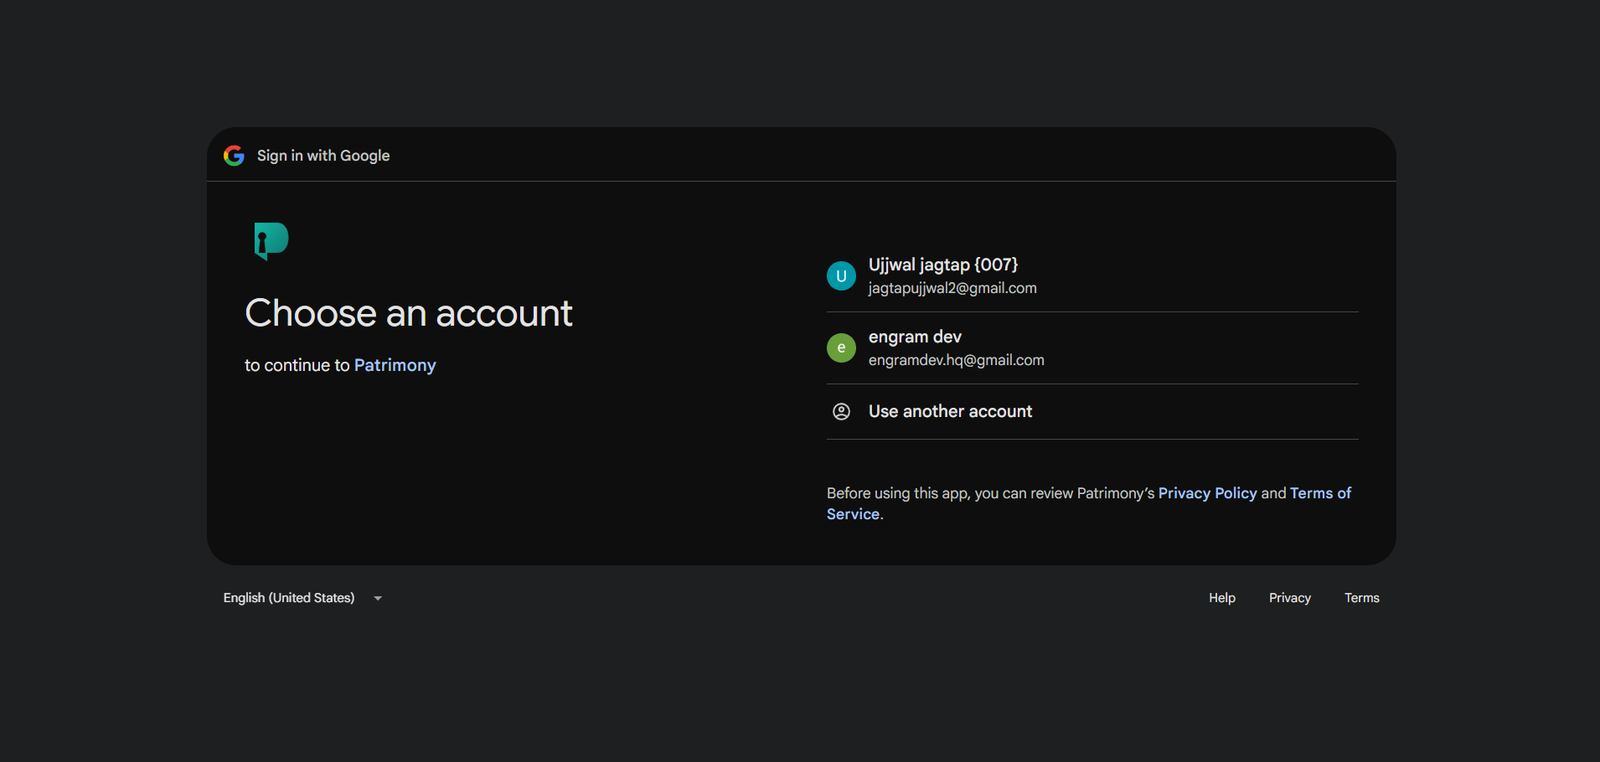
Connect your Google Drive
Create your account and link it to your Google Drive. We will automatically create a dedicated folder in your Drive to safely store your data.
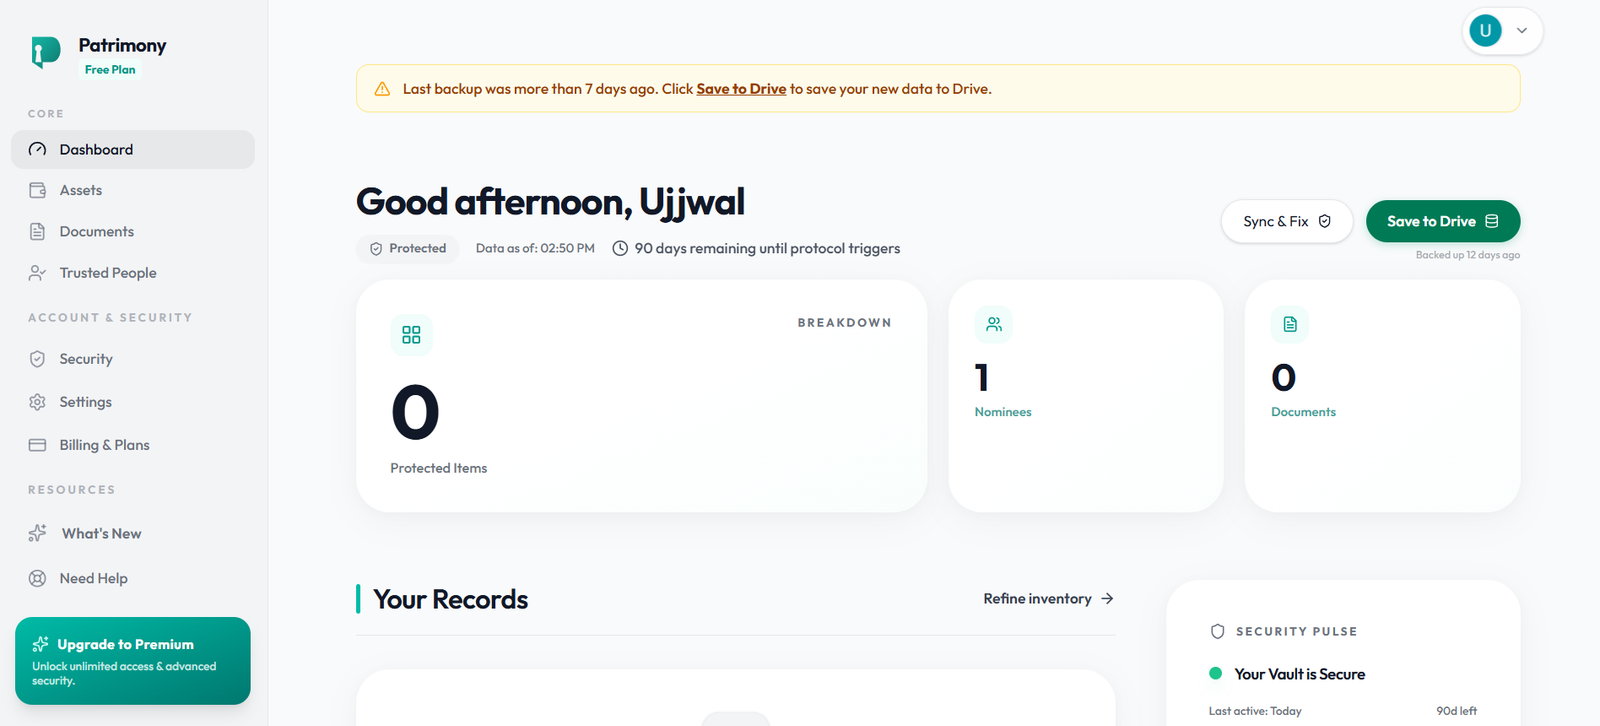
Main Dashboard
This is your central hub. Here you can monitor your security status and get a quick overview of all your protected information.
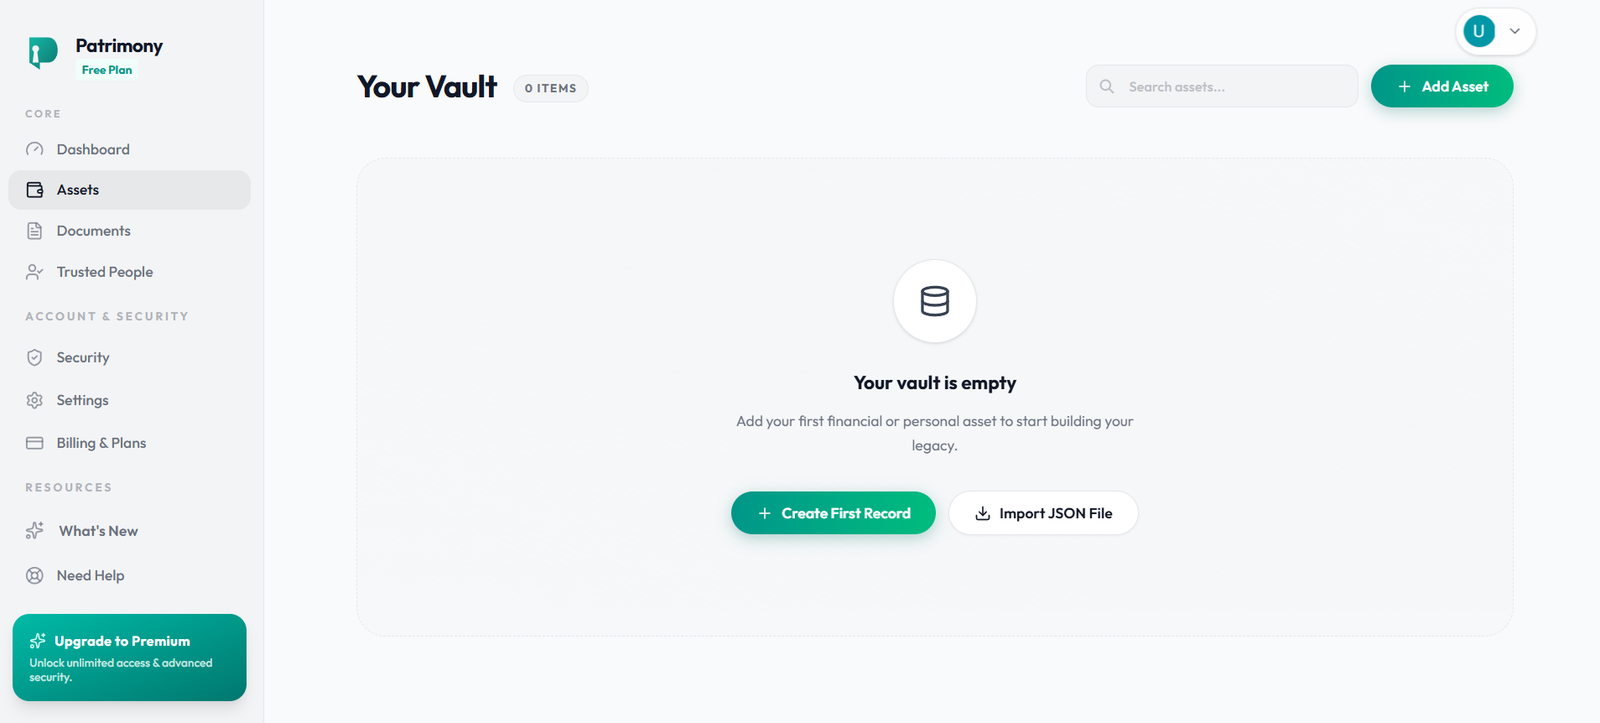
Add your Assets
Navigate to the Assets page to add Bank Accounts, Properties, and Insurance details. Everything is securely saved directly into your personal Google Drive.
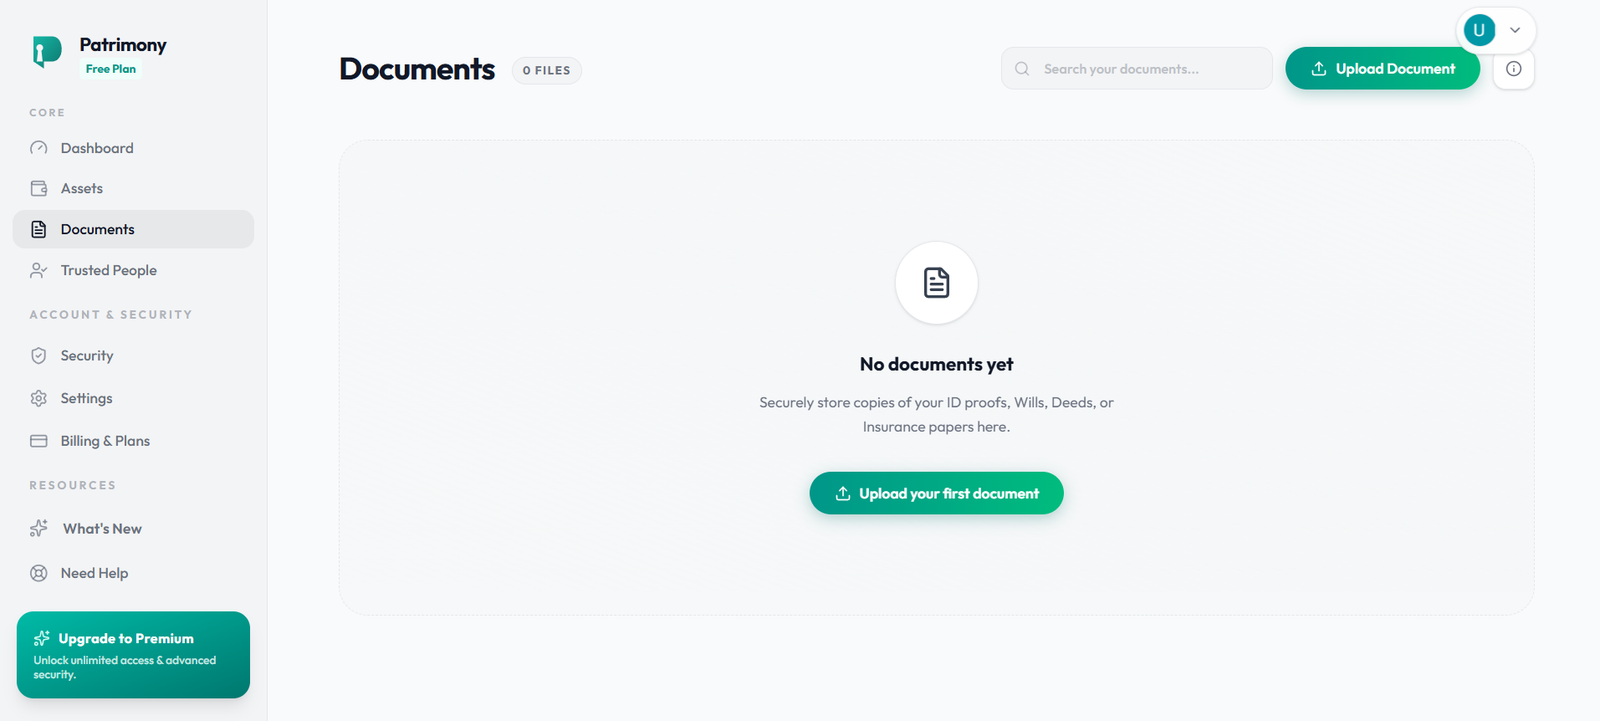
Upload Important Documents
Safely upload a copy of your Will, property deeds, or identity documents. We place these files securely into your connected Drive.
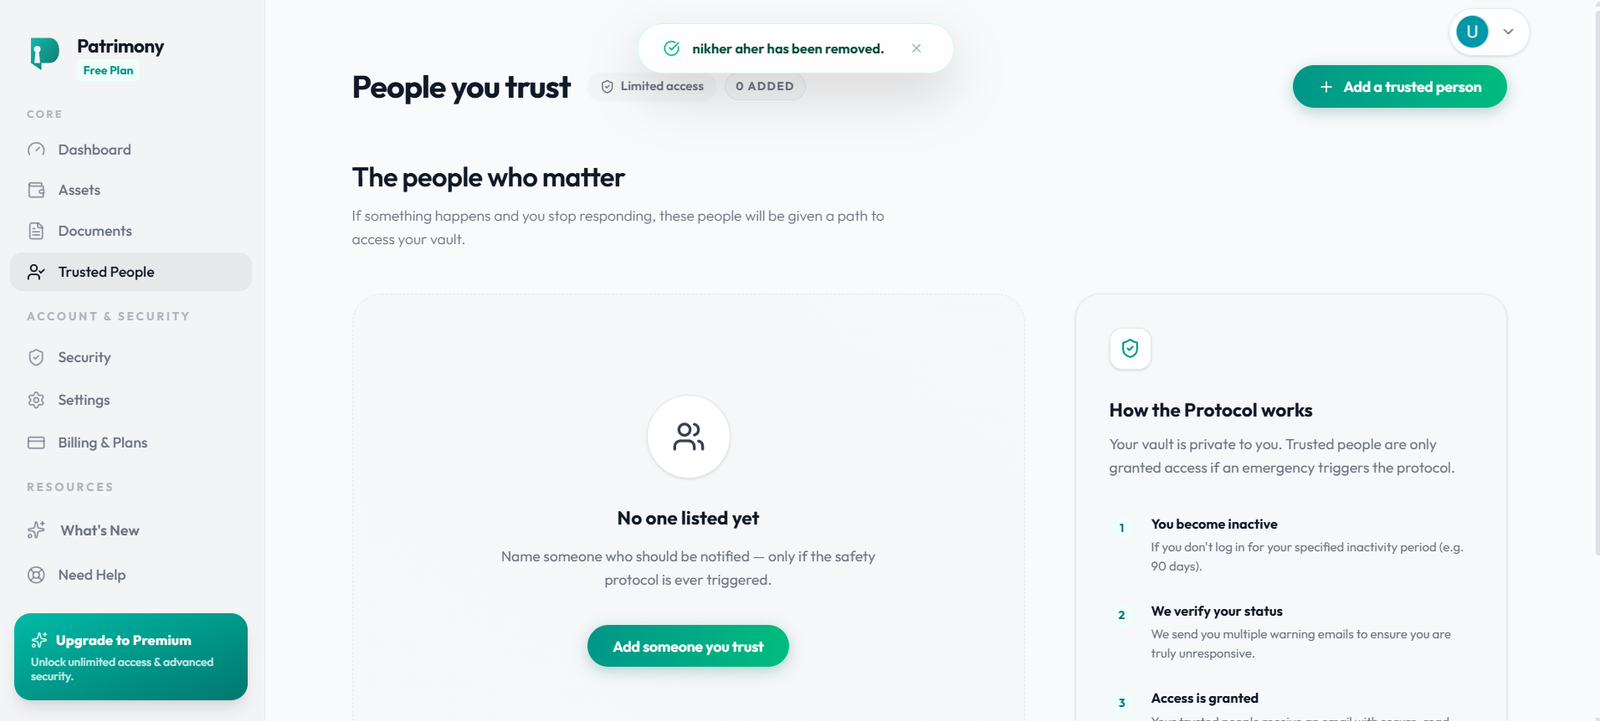
Add trusted Nominees
Add trusted family members or friends as your nominees. These are the specific people who will be allowed to access your vault in the future.
Set up the Smart Timer
Set a "check-in" timer (for example, 90 days). If you don't log in to your account for that entire amount of time, the system will automatically and securely release your vault to your nominees.